Followers

Showing posts with label silver. Show all posts

Sunday, 14 August 2016

Christmas Night Delivery - Another 'sneaky peek.'

Hello everyone, hope you've all enjoyed your weekend.   Mine has been spent crafting, getting samples ready for Imagination Craft's next shows on Hochanda T.V. on thr 26th. August 2016.

I would just like to welcome my newest follower, Lesley Kilby, I do  hope you enjoy your visits Lesley and thank you for following, much appreciated.

Tonight's 'sneaky peek' was made using one of Imagination's Art stamps.   These stamps are so detailed and beautifully designed and this one, I LOVE!   hope you do too.

  
(1)    Matt a black square of paper onto the base card, leaving a border of the white base card showing.

(2)    Cut a smaller square from the lavender paper and stamp the  Christmas text stamp over the whole of
         the paper, using a black  ink pad.

(3)    Matt this onto the black paper.

(4)    Using a piece of white card, spray some water onto it then, a very small amount of the light purple and
         green Mixed Media Spray Inks.   Cover the card whilst still wet with a piece of clingfilm and scrunch
         it up a little.      Leave this to dry.


(5)    When this is dry, remove the clingfilm, this leaves a very pretty background paper on which to stamp
          our lovely happy Santa.   Use a black ink pad to do this.

    
(6)     Die-cut this image, using the Spellbinder's large label die set, then matt this onto the lavender text
          paper.

(7)     Highlight parts of the design with a white pen.


(8)     Die- cut a poinsettia using the Marianne Design die and paint with the amethyst Starlight paint.   Lightly
          rub some silver Alchemy Wax over the raised areas on the bracts.   Paint the stamen with the silver
          Starlight paint, adding some Glamour Dust fine glitter, whilst the paint is still wet.

(9)      Die - cut 2 pieces of pine branch using the Marianne Design die and colour using the Menthol and
           green Starlight paints.   Add some Magi-bond glue to the branches and sprinkle on some Cracked
           Ice Glitter.

   
(10)   Glue the pine branches and the poinsettia in the bottom left corner.

Well that's this card finished now, I chose to use these more modern colours than the traditional reds, greens and golds.   Thank you for stopping by my blog and I hope you have found some inspiration.   I really appreciate your interest in my creations.   Please pop back tomorrow, when I will have another 'sneaky peek' for you.     Have a good start to the new week, at least the weather is due to get warmer and drier !

                                                                     Love and Rainbows,

                                                                   Crafty Hugs   Jennifer xx.


Thursday, 14 July 2016

Snowflake Crescent Card,

Hi there Followers, Friends and Visitors,

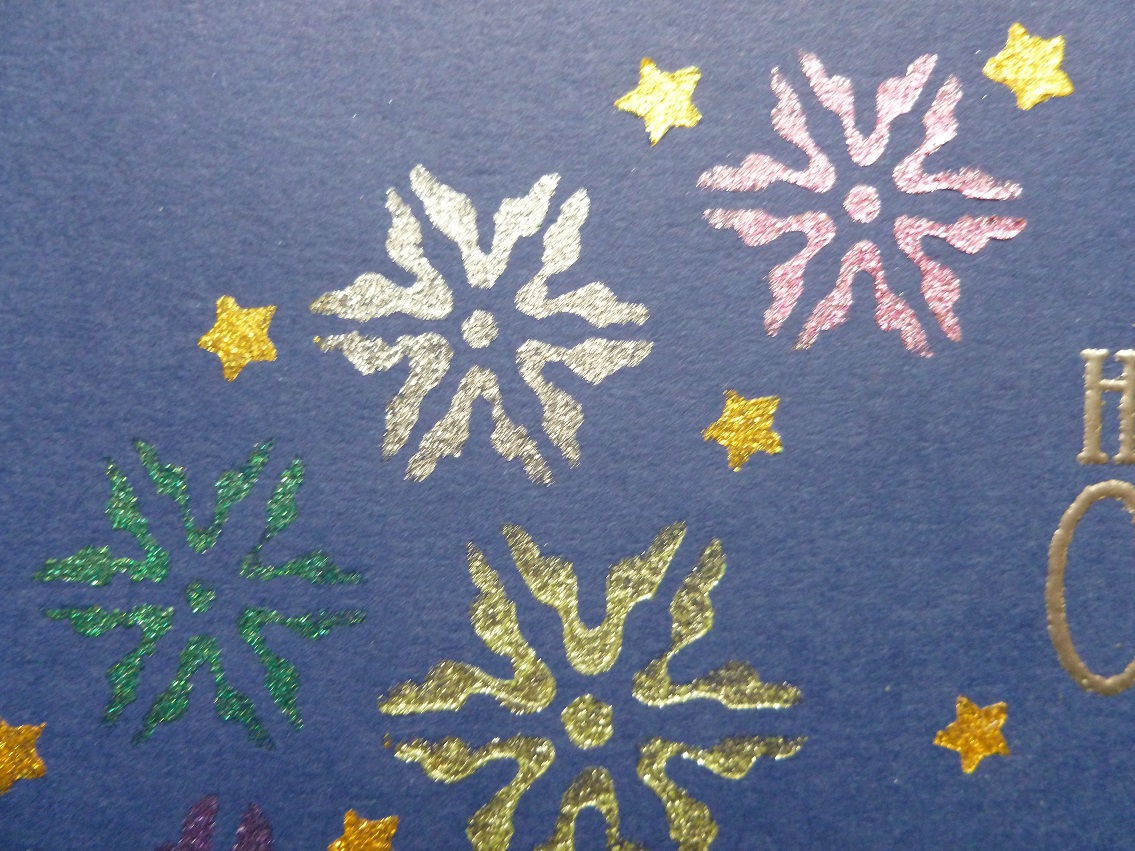
Hope you have all had as nice a day as we have had here.   Blue skies  and the sun was  really quite hot.   The  blackbirds are enjoying themselves in our strawberry bed lol!  so we have put up the fruit nets to protect them!    We had  strawberries and ice cream after dinner tonight and they were yummy!  picked and eaten within half an hour lol!!  can't beat it!    Well,  on to tonight's card,  this was made using Imagination Craft's very pretty 'snowflake crescent' stencil, Starlight paints and Sparkle Medium and was made for their show on the Hochanda T.V. Channel on 5th./6th. July 2016.
  
     
Matt a smaller square of gold mirror card onto the white ready creased 7"x7" base card, leaving a quarter inch border of the white base card showing.


Take a slightly smaller piece  of navy blue card and lay the snowflake crescent stencil onto it.   Using the stencil brushes stipple the Starlight paints through the design.   Remove and clean the stencil

      
Lay the stencil back in position on the design, having first  masked off the area around the largest snowflake, with masking tape.   Spread the Diamond Sparkle Medium over the largest snowflake, using the metal spatula.   Remove and clean the stencil and spatula.

      
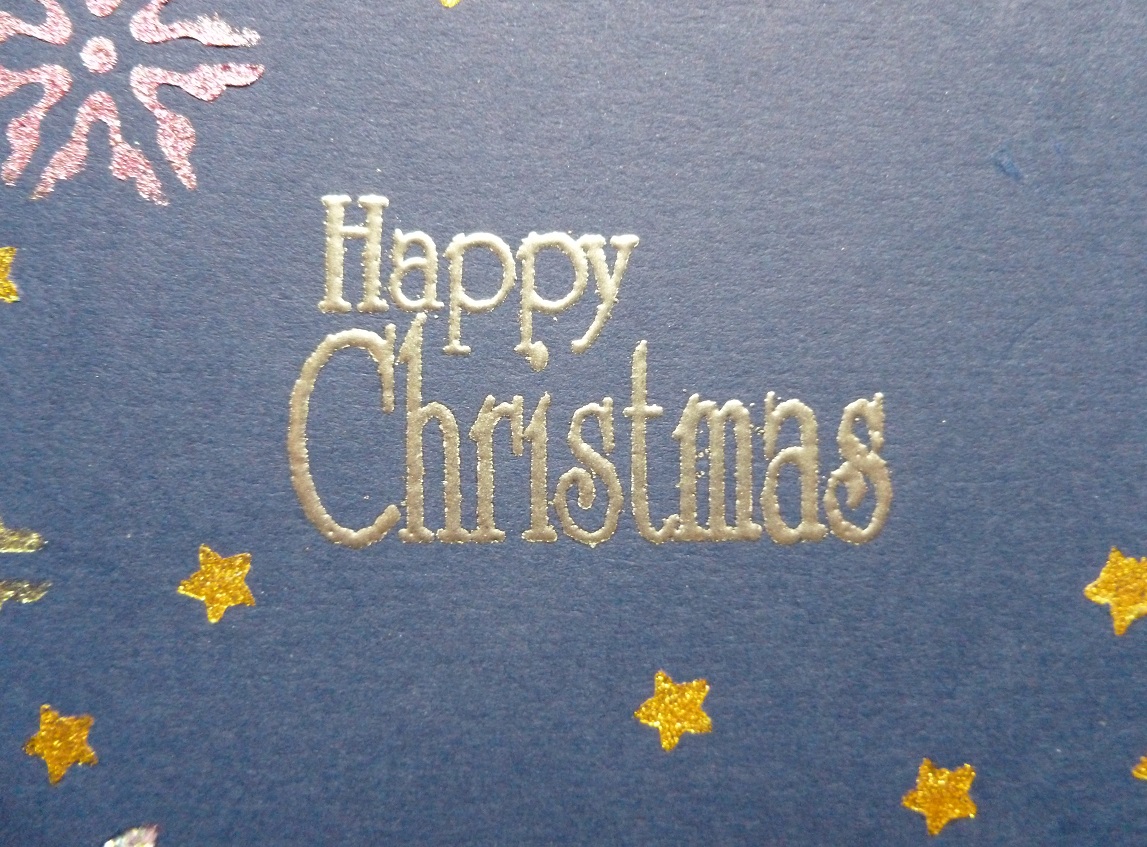
When the image is dry, stamp 'Happy Christmas' from the 'Holly' decoupage stamp set. just  inside the top of the crescent, using a Versamark pad and heat emboss with silver embossing powder.   Matt this onto the gold mirror card. 


I will be back soon with another creation, so hope you will be too!   Thank you very much for your interest in my blog.    Have a good Friday.

                                                                Love and Rainbows,

                                                                  Hugs   Jennifer xx.


Thursday, 23 July 2015

'Sneaky Peek' at my MDF Sleigh for Imagination Craft's Show on Create & Craft T.V..

Good evening Followers, Friends and Visitors,

Hope you've had a good day whatever you have been doing.   Hubby and I have spent the day weeding in our fruit garden.  When we went into the garden we were greeted by a half a dozen blackbirds, flying out from inbetween the strawberries and gooseberries lol!   Time to put up our fruit nets me thinks lol!  and that was a bundle of fun, with the wind lol!!!    Never mind, we managed in the end, after a frustrating couple of hours.  

On to tonight's creation, another Santa sleigh.   Paint all MDF parts with two layers of blue Starlight Paint.   Take some white card and the snowflake embossing folder and emboss.   Paint this with Moss Green MDF Paint, then a thin layer of the Lagoon MDF Paint.   Rub some Blue Moonstone Sparkle Medium over the raised design.   Leave to dry.   From this, cut out two side shapes for the sleigh and glue in place,   Add more Sparkle Medium around the edges.

   
Cover some white card with Diamond Sparkle Medium and leave to dry.  When dry ,die-cut two of each
snowflake using the Tattered Lace dies.    Glue these to both sides of the sleigh.   Glue some pearls to the top edges of the back and front of the sleigh, using Magi-bond glue.

  
Fix a piece of silk ivy and silver ribbon to the inside of the sleigh.   Make some boxes and lids from white card, coloured with  Blue, White gold, Menthol and Orange oxidation Starlight Paints.   Colour one piece of card using the hessian stencil, colouring with the Lagoon and Cyclone MDF Paints and Orange oxidation Starlight Paint and make another box and lid.

 
                                        Make another box using snowflake flurry patterned card.

 
Paint a piece of white card and paint with the White gold Starlight Paint.   Using the X-cut alphabet die, die-cut HO HO HO and glue these letters to the back of the sleigh.


Spread silver Sparkle Medium over a flourish from the Art Cutz Butterfly set and leave to dry.   When dry, paint over the top of the Sparkle Medium with the Menthol Starlight Paint.   Glue this to the front of the sleigh.

Well, that's it finished.   This will make a lovely Christmas decoration or could be a focal point of your  Christmas dinner table.   Before we know it, it will be Christmas lol!     Please do not forget to tune in to Create & Craft T.V. at 11am tomorrow, Friday the 24th. July, to see our lovely Sue demonstrating and telling us all about her new products.

                                                  See you all soon.   Take care of yourselves.

                                                                    Love and rainbows,

                                                                     Hugs   Jennifer xx.