Hi there Followers, Friends and Visitors,
Today I would like to share another card with you, which I made for the Imagination Craft show earlier this month, when the beautiful Vintage Florals collection (Mandy's first signature collection) was launched. This card features a fabulous die-cut bee from the collection.
Cut out the section of rice paper with the blossoms on and using the decoupage glue, fix this to a square of white card, bending the excess rice paper to the back of the white card and securing on the back with the glue.
When this is dry, lay the window design from the A4 stencil onto the left of the background. Using the spatula, mix some white Structure paste with a little of the Cadence spring green Style Matt Paint, then spread over the window design and the leaf scroll to the right of the window.
Remove the stencil and leave the image to dry.
When this is dry, rub a little Cadence white gold finger wax over the surface of the image.
Fix this card to a slightly larger piece of red card and then matt onto the 8" ivory base card.
From the second sheet of the same rice paper design, roughly cut out the flower section and fix this to a piece of white card, using the decoupage glue.
When this is dry, carefully cut out the flower design and the single rose head.
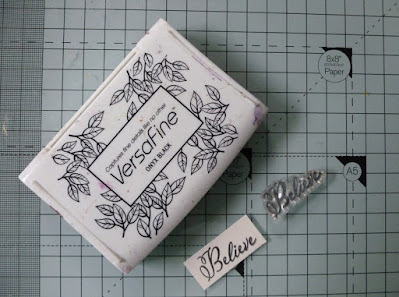
Using a black inkpad, I stamped the text in the bottom right corner and I then fixed the flowers to left hand side of the base card using a mixture of silicone glue and sticky foam pads and the single rose head to the bottom right.
Stamp two small bees, using the stamp from the collection, onto some spare ivory card using the Encore gold pigment pad and heat emboss with gold embossing powder. I stamped four, two to keep just in case of small accidents (such as accidentally cutting off a feeler or leg lol!......it does happen !). Happy to say 'not painful to the bee ! lol.
Carefully cut out two bees and glue them to the top right of the base card, using silicone glue. Die-cut the large bee from the die- set from ivory card.
Next, stamp the bee onto the die-cut using the gold pigment pad and heat emboss with the gold embossing powder, using a heat gun, as previously for the small bees.
Glue the two smaller bees to the top right of the base card and the larger bee just below the smaller ones, using silicone glue.
Stamp the word 'Believe' onto a piece of ivory card using a black inkpad and trim to size. Glue this to the card front using sticky foam pads.
Below are a couple of photographs taken at an angle to show the dimension of the card.
Well my friends, that is all from me for the moment, hope you like this card. I will be back soon with another card, made using the very beautiful 'Over the Sea to Skye' Collection, so I'll see you then. In the meantime please stay safe and well and thank you for your comments and visits to my blog, as always, very much appreciated.
Love & Rainbows,
Crafty Hugs to you all. Jennifer xx.


A gorgeous card - thanks for taking us through the stages. Bee safe - (oops! lol) love and hugs xx
ReplyDeleteHi Jane, thank you for your lovely comment, much appreciated as always. Love the 'Bee safe lol!' Stay safe too my friend. Love & Hugs right back. xx.
DeleteAbsolutely stunning Jennifer, the rice paper is so pretty and you've used beautiful images ans colour. Love the bee and all the fabulous texture, Keep safe, Kate x
ReplyDeleteThank you so much for your kind comment Kate, much appreciated as always. Please stay safe my friend. Hugs Jennifer xx.
DeleteBeautiful card love the bees x
ReplyDelete