Here we are once again, halfway through yet another week. Even though we are all staying at home because of the Coronavirus lock down, I am finding that the days are just flying by ever so quickly. We are spending quite a lot of time tidying up the garden after a very wet winter. I am spending some time each day in my happy place - my craft room lol! I have another card to share with you, which was made using the very magical 'Atlantis' collection by Imagination Crafts and teamed with the Cadence fabulous paints, makes a good combination, plus one of my favourite products - Sparkle and Twinkle.

Take a 6"square of white card and using the Cadence decoupage glue, fix the chosen square of rice paper from the collection, onto the 6" square, using a flat brush.
Lay the small shoal of fish from the stencil onto the top right corner of the rice paper and spread the gold Sparkle and Twinkle over the design, using a metal spatula. Remove the stencil and wash it.


When this is dry, lay the cleaned stencil back in position and stipple some green Dora metallic paint onto each leaf.
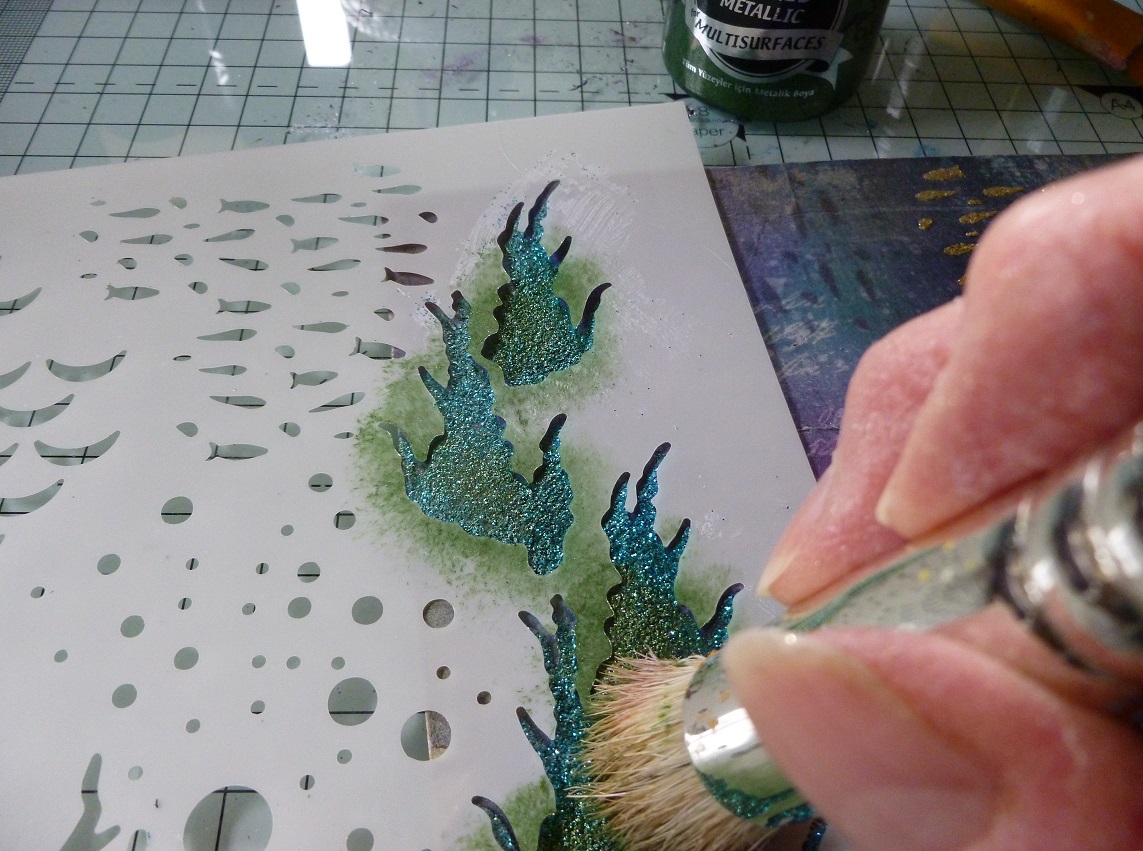
Then, spread small amounts of the gold Sparkle & Twinkle on top of the green paint using a metal spatula.

Tone down the background colours by painting with the purple marble effect paint, mixed with a little water.


Using the seahorse die from the collection, die-cut 3 seahorses from white card.

Paint the seahorses with the 3 acrylic paints - Amber, Ultramarine & Turquoise, mixing with a little water to lighten the colours, adding a touch of the green shimmer spray, again mixed with a little water.


Take the seahorse stamp and lay it face up on your worktop and ink it up with a Versamark pad. Lay the seahorse face down onto the inked stamp and gently press down on the die-cut.

Remove the seahorse die-cut from the stamp and cover with black embossing powder. Remove the excess powder and heat emboss.


Repeat the above, making a total of 3 seahorses.
Lay the stencil onto the rice paper once more and spread some white structure paste through the 'ripples' image, using a metal spatula. Remove the stencil and leave the image to dry.

Fix the seahorses in position on the card front using silicone glue to add some dimension to the card.

Add some air bubbles using the clear Just Pearls. Matt this onto a slightly larger square of light blue card, then onto a slightly larger square of gold mirror card. Fix this to the base card. Using a cocktail stick, add tiny dots of the Dark Orchid metallic paint to the swirls on the seahorses bodies and eyes.


Paint a piece of white card with the purple marble effect paint and when that is dry, paint over it with well watered down silver metallic paint.


Stamp the oyster shell onto this piece of card using a black ink pad. Cut out and glue it to the bottom right of the base card.

Using the pearl 'Just Pearls,' add a pearl drop to the inside of the oyster shell and leave to dry.


Well, that's it from me for the moment my Lovelies. Take care, stay safe and keep well and I will be back quite soon. Happy Crafting.
Love and rainbows,
Hugs Jennifer xx
Stunning card Jennifer, love the step by step. Another one of my favourite collections too!
ReplyDeleteHugs
Linda xxx
Oh, Jennifer you have created a stunning card design. Wow love the colors and dimension.
ReplyDeleteWell done.
Hug Diane
This card is gorgeous, especially love the background you've created. Time certainly is flying - can't believe it will be May next week! Stay safe and stay well - hope your'e able to enjoy the garden as well as working in it xx
ReplyDelete