Wow! isn't this weather amazing. Sun has been shinning today and it is still quite mild for the time of year. The leaves have almost all fallen from the trees in our garden, just a few hanging on by a thread lol! all very beautiful but quite a job to clear them all up, there must be thousands lol! Thank you all for your visits and comments on my last post, much appreciated. At the beginning of the year, I was asked by a closed group if I would do a tutorial for them as a guest designer. I was thrilled to be asked, so I of course said yes. I thought I would share it with you today. Here is that tutorial, hope you enjoy it. Please bear with me as there are quite a lot of photos showing the different stages. The card below is what we are aiming for. Some of the products used in this tutorial can be purchased from Imagination Crafts on the Crafter's Companion web site www.crafterscompanion.co.uk

(1 ) Matt a smaller square of red card onto the white 7" x 7" base card.
(2 ) Take a smaller square of white card and lay the flower trellis stencil onto it and dab the white
Gesso through the design, using cut 'n' dry foam. Remove the stencil.

(3 ) When dry, colour over this with Peacock feathers, Dried marigold and Ripe Persimmon Distress
inks, using a blending tool.


(4 ) Put some Peacock feathers ink through part of the large flower design on the stencil, onto the
top right hand corner. Remove stencil.

(5 ) Add some extra circles to the design using the Bubbles stencil and Peacock feathers D.I.

(6 ) Lay the Spider's web stencil onto the bottom right corner and blend some Dried marigold D.I.
through the stencil.

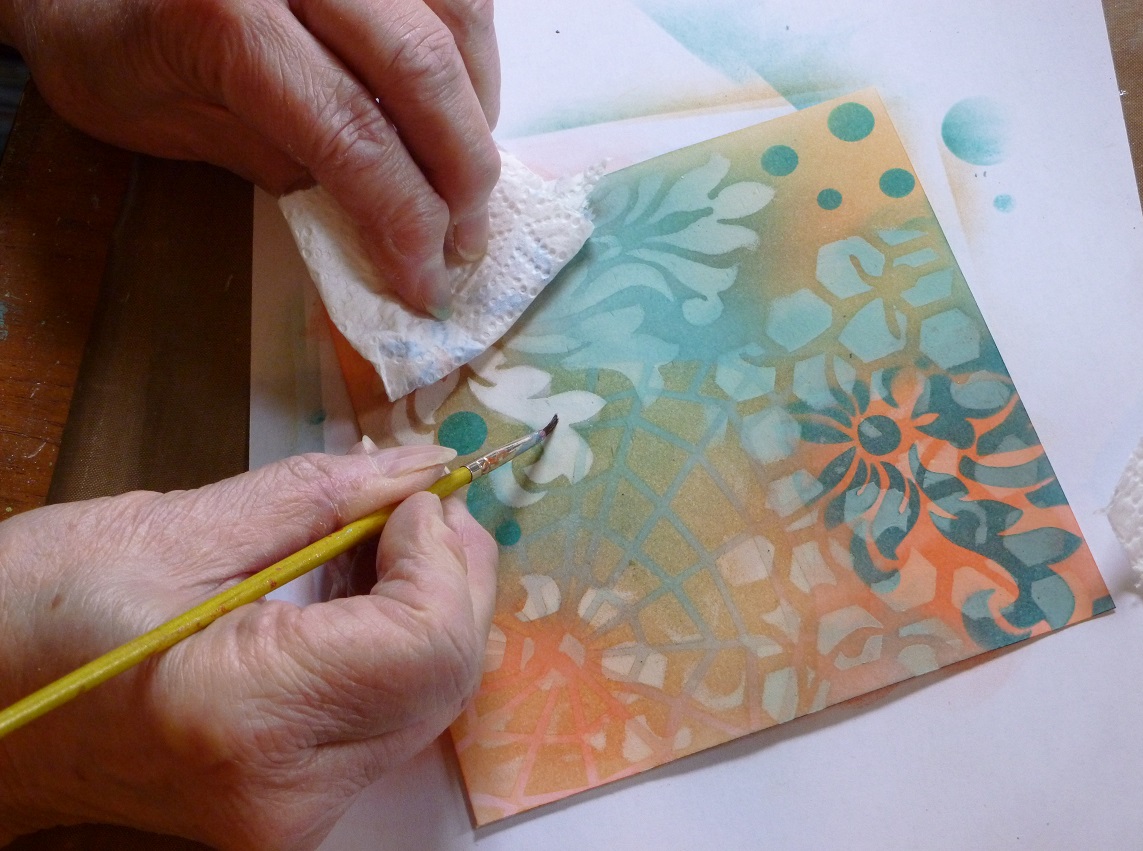
(7 ) Add a few water splashes using your fingers and blot off with some kitchen roll, to remove
some of the ink.
(8 ) Using water and a paintbrush, take away some of the ink from the Gesso images as in the
previous step.
(9 ) Lay the trellis stencil back in position on the card and using the 'foiling' technique, rub the red
Sparkle Medium over the large flower flourish in the bottom left corner, using our finger. (You
could use a piece of cut 'n' dry foam should you be allergic to glitter) but I prefer to use my
finger. This takes the medium to the edges of the stencil design. Remove the stencil and
leave to dry.

(10) Using small scissors, cut away the design from the centre of the large flower flourish, leaving
the Sparkle Medium edges in tact. Draw around the outside edges of the Sparkle Medium
with a black pen.

(11) Fix some red card behind the cut out flower, then fix this onto a piece of white card, leaving
a tiny border of white showing. Matt and layer this onto the white base card.

(12) Stamp the distressed circles to the top left and bottom right corners, using a black ink pad.
Next stamp the word 'SMILE' to the card front using black ink once again.

(13) Add a red ribbon bow just below the word 'SMILE' and a red gem to the large flower flourish.
(14) Using a white pen, add a few groups of white dots to the design.

Below is the finished card shown at an angle. This card does take more time to make but I feel
that extra time is worth it lol! what do you think, I do hope you like it.

Thank you for visiting my blog, hope you may have gained a little inspiration from my tutorial. Take good care of yourselves and I will be back again quite soon. Happy crafting!
Love and rainbows,
Crafty Hugs, Jennifer xx.
OMGosh your card is stunning Jennifer, the colours are glorious and the stencils are fabulous, so much detail in the background to see and lovely texture, love it, Kate x
ReplyDeleteGorgeous! A wonderful tutorial too!
ReplyDeleteHugs
Linda xxx