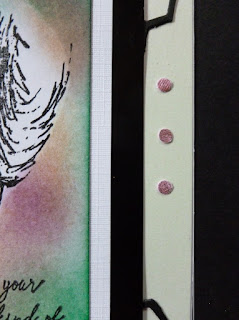
As it is a little time since I last blogged, I thought I would share another card with you. Thank you all so much for your lovely comments on my 'Oily Owl' steampunk card. I would also like to mention my newest follower, Purple Nannie. Welcome to my blog and I hope you enjoy your visits. For this card I have used the beautiful image of a face from the Imagination Craft's 'Mixed Media Textures' collection, which was launched in May this year. I just love her face I decided to leave her .image unpainted but have some colour on the background, I felt she didn't need painting as she has so much expression in her face already, so I left it very simple. I have used the 'chicken wire' die from the 'Modernista' collection on the background of the base card. The roses are painted with Emerald and Dried Rose Metallic Starlight paints. The base card is a 7" x 7" pearl green/lavender card, which changes colour when moved, hence the colours I have used on the background.
Using the chicken wire die, die-cut the image twice. Cut these randomly into four separate pieces and glue one in each corner of the 7" x 7" base card.
Cut a square of white card and stamp the face image onto the centre, using a black ink pad. Stamp this image once again onto a piece of copy paper and trim around the image. This will act as a mask when the distress inks are added to the background, keeping the face clear of ink.
Lay the mask onto the original image and hold in place whilst you add the coloured background. Using a blending tool or a piece of cut 'n' dry foam, blend the Dried Marigold, Lucky Clover and Seedless Preserves Distress inks around the mask, until you are happy with the results. Remove the mask.
Matt this onto the base card, on top of the chicken wire die-cuts.
Stamp the text in the bottom right corner of the coloured card, using a black ink pad.
Punch out 4 small circles from white card and glue one in each corner of the coloured card. Colour 2 small pieces of white card , one with the emerald and the other with the dried rose metallic paints. When dry, punch out 6 pink and 6 green circles. Glue the green circles to the top and bottom of the base card and the pink to the left and right - hand sides.
From the leftover pink and green card, make 1 green and 1 pink rose. Make a third rose from white card. I used a quilling tool to roll up the roses but using your fingers is equally effective, adding a little glue to hold together so it doesn't unroll.
Glue the roses to the bottom left corner of the base card.
Stamp the words 'Carpe Diem,' (seize the day) onto a piece of white card using a black ink pad.
Trim around the words and add a little black ink around the edges.
Glue this to the top left of the coloured card.
Well that's this card finished my lovelies, I do hope you like it. Take good care of yourselves, stay safe and keep well. I'll be back again quite soon.
Love and rainbows,
Hugs Jennifer xx.


Absolutely gorgeous design Jennifer.
ReplyDeleteHugs diane
Fabulous card and love the design.
ReplyDeleteHugs
Linda xxx
Stunning card Jennifer, she is a beautiful image and your design and colours are wonderful, love the use of the chicken wire in the background, love it, Kate x
ReplyDelete