Hello everyone, hope you've all enjoyed your weekend. Mine has been spent crafting, getting samples ready for Imagination Craft's next shows on Hochanda T.V. on thr 26th. August 2016.
I would just like to welcome my newest follower, Lesley Kilby, I do hope you enjoy your visits Lesley and thank you for following, much appreciated.
Tonight's 'sneaky peek' was made using one of Imagination's Art stamps. These stamps are so detailed and beautifully designed and this one, I LOVE! hope you do too.
(1) Matt a black square of paper onto the base card, leaving a border of the white base card showing.
(2) Cut a smaller square from the lavender paper and stamp the Christmas text stamp over the whole of
the paper, using a black ink pad.
(3) Matt this onto the black paper.
(4) Using a piece of white card, spray some water onto it then, a very small amount of the light purple and
green Mixed Media Spray Inks. Cover the card whilst still wet with a piece of clingfilm and scrunch
it up a little. Leave this to dry.
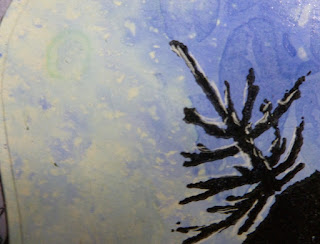
(5) When this is dry, remove the clingfilm, this leaves a very pretty background paper on which to stamp
our lovely happy Santa. Use a black ink pad to do this.
(6) Die-cut this image, using the Spellbinder's large label die set, then matt this onto the lavender text
paper.
(7) Highlight parts of the design with a white pen.
(8) Die- cut a poinsettia using the Marianne Design die and paint with the amethyst Starlight paint. Lightly
rub some silver Alchemy Wax over the raised areas on the bracts. Paint the stamen with the silver
Starlight paint, adding some Glamour Dust fine glitter, whilst the paint is still wet.
(9) Die - cut 2 pieces of pine branch using the Marianne Design die and colour using the Menthol and
green Starlight paints. Add some Magi-bond glue to the branches and sprinkle on some Cracked
Ice Glitter.
(10) Glue the pine branches and the poinsettia in the bottom left corner.
Well that's this card finished now, I chose to use these more modern colours than the traditional reds, greens and golds. Thank you for stopping by my blog and I hope you have found some inspiration. I really appreciate your interest in my creations. Please pop back tomorrow, when I will have another 'sneaky peek' for you. Have a good start to the new week, at least the weather is due to get warmer and drier !
Love and Rainbows,
Crafty Hugs Jennifer xx.


Hello Jennife, loving your very festive card, it's a wonderful Santa image, a little different from usual and your colour choice is beautiful. Must try the cling film technique it looks so good, Kate x
ReplyDeleteHi Kate, many thanks for your lovely comment. So pleased you like it. It is a good technique, each one is different and it is so easy to do, just can't go wrong lol. Have a good week Kate.
DeleteHugs Jennifer xx.
Gorgeous Christmas card and love the Santa, very vintage looking. Beautiful embellishments too.
ReplyDeleteHugs
Linda xxx
Thank you so much Linda, thought you might like it, I know you love everything vintage and he is a gorgeous Santa I think.
DeleteHugs Jennifer xx.